

28BYJ-48 Stepper Motor Demo
Run a geared stepper forwards and backwards through a ULN2003 driver, then release its coils.
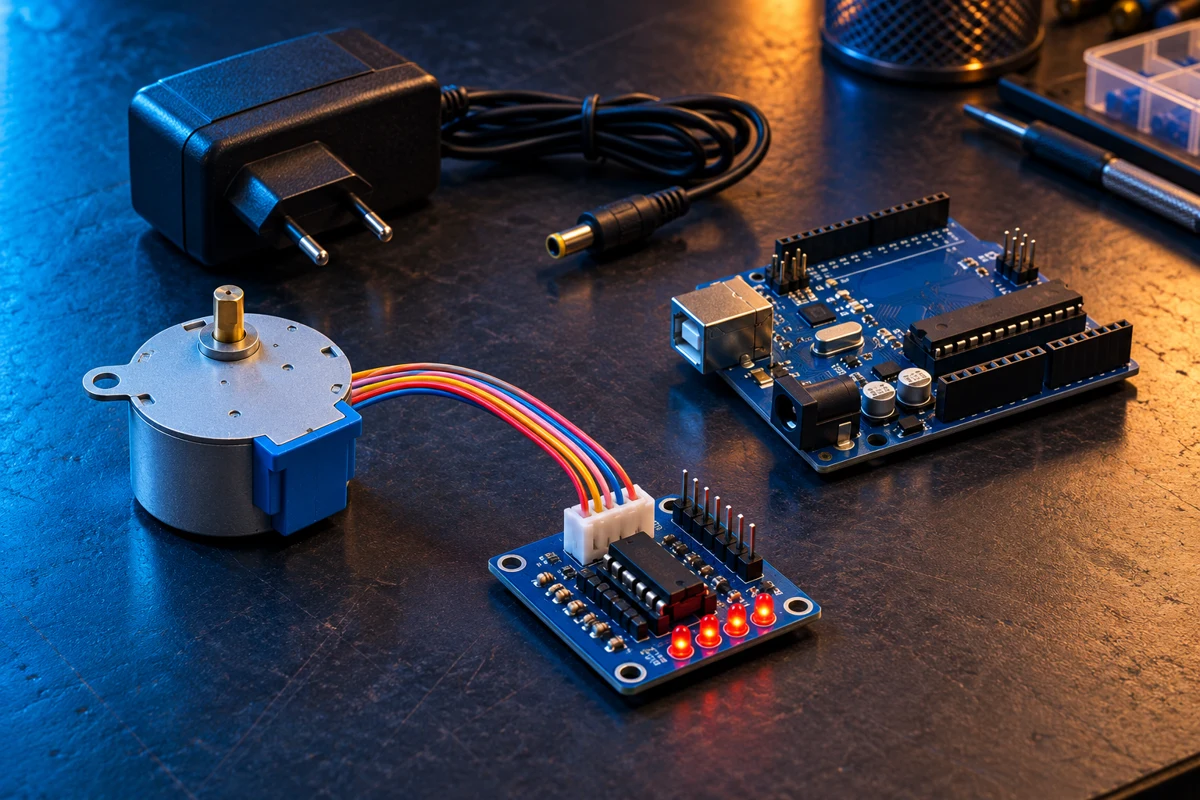
Steps
Prepare the separate motor supply
Use a 5V 28BYJ-48 with its matching ULN2003 module and a regulated 5V supply rated at least 1A. The supply and suitable terminal adapter are additional items outside the listed catalog parts. Start with the shaft unloaded. Never power motor coils directly from an Arduino GPIO.
Connect the driver inputs
With all power disconnected, connect UNO D8 to ULN2003 IN1, D9 to IN2, D10 to IN3 and D11 to IN4. Plug the motor five-wire connector into the matching keyed driver socket. Confirm the driver is a module intended for this motor and includes the flyback protection connections.
Wire power and common ground
Connect external +5V to the driver motor-supply positive terminal and external GND to driver GND. Connect driver GND to UNO GND. Keep the UNO on USB; do not connect external +5V to the UNO 5V pin. Check driver power-jumper markings before enabling the supply.
Upload the full-step sequence
Select Arduino UNO and upload. The code energizes two coils at a time in a four-state sequence. It moves 512 full steps in one direction, releases the coils for 500ms, then returns 512 full steps. No external motor library is needed.
Observe, tune and stop safely
Watch the driver LEDs and mark the unloaded shaft to see motion. 512 full steps is approximately a quarter revolution for a nominal 2048-step output; actual gearbox ratios vary. If the motor only vibrates, disconnect power and confirm the connector and input sequence. Increase STEP_MS to slow it down. Disconnect power if the motor stalls or overheats.
Code
const byte PINS[4] = {8, 9, 10, 11}; // ULN2003 IN1, IN2, IN3, IN4
const byte SEQUENCE[4][4] = {
  {HIGH, HIGH, LOW, LOW}, {LOW, HIGH, HIGH, LOW},
  {LOW, LOW, HIGH, HIGH}, {HIGH, LOW, LOW, HIGH}
};
const unsigned long STEP_MS = 4;
byte phase = 0;

void releaseCoils() {
  for (byte i = 0; i < 4; i++) digitalWrite(PINS[i], LOW);
}

void moveSteps(int count, int direction) {
  for (int step = 0; step < count; step++) {
    phase = (phase + (direction > 0 ? 1 : 3)) % 4;
    for (byte i = 0; i < 4; i++) digitalWrite(PINS[i], SEQUENCE[phase][i]);
    delay(STEP_MS);
  }
  releaseCoils();
}

void setup() {
  for (byte i = 0; i < 4; i++) { pinMode(PINS[i], OUTPUT); digitalWrite(PINS[i], LOW); }
}

void loop() {
  moveSteps(512, 1); delay(500);
  moveSteps(512, -1); delay(500);
}