

Arduino Breathing LED
Make an LED fade smoothly while learning PWM and timing without delay().
Steps
Build the LED circuit
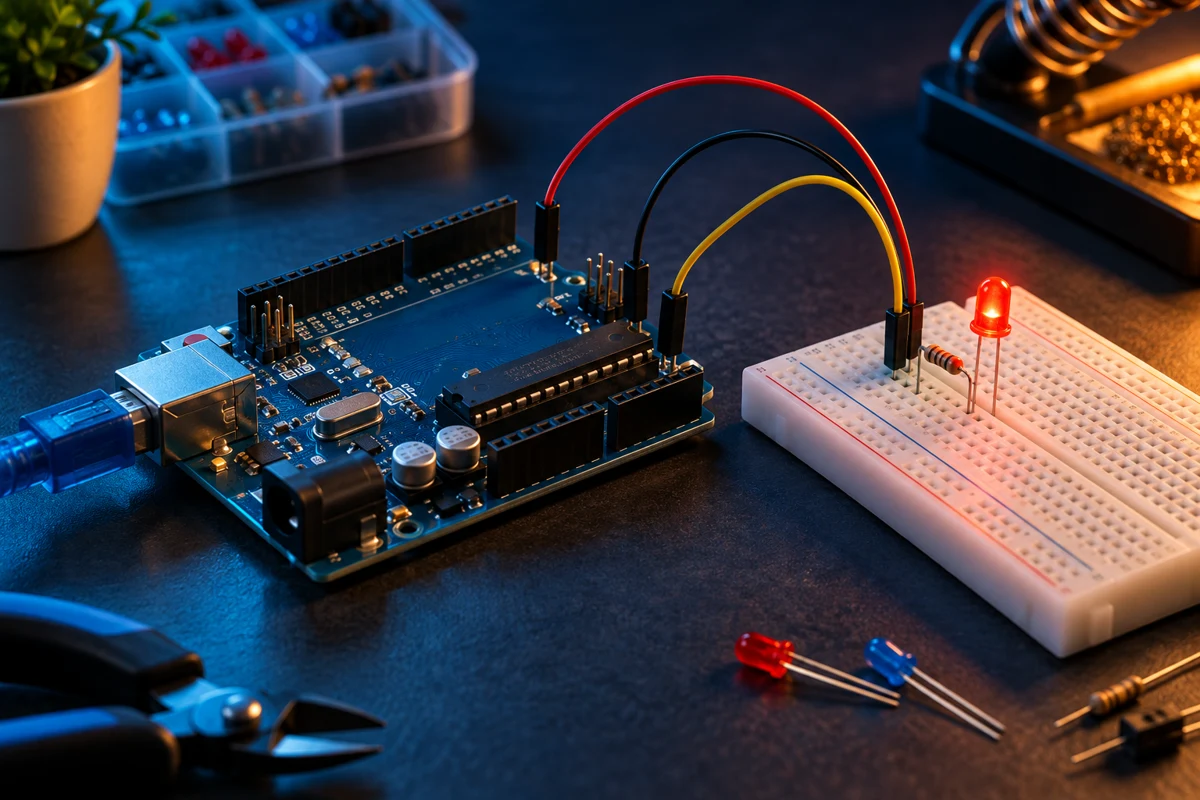
Unplug USB. Connect UNO D9 through a 220 ohm resistor to the red LED anode. Connect its cathode to GND. Use separate breadboard rows for the two legs; never connect an LED directly to a GPIO without its series resistor.
Choose the correct output
D9 is a PWM output on the UNO R3. This sketch targets the UNO R3 or an ATmega328P Nano, not an ESP32. On an ESP32 the PWM setup and pin assignments must be adapted.
Upload and observe
Select Arduino UNO and the correct port, then upload. The LED should fade up and down continuously. No additional libraries are required. Check polarity and the resistor before troubleshooting in software.
Experiment with timing
Change INTERVAL_MS from 15 to 30 to slow the fade. The loop keeps returning while it waits, so you can later add a sensor read without a long delay(). Brightness appears nonlinear to the eye; this exercise uses a linear duty-cycle ramp.
Code
#include <stdint.h>
const byte LED = 9;
const uint32_t INTERVAL_MS = 15;
uint32_t lastUpdate = 0;
int brightness = 0;
int direction = 1;

void setup() {
  pinMode(LED, OUTPUT);
  analogWrite(LED, 0);
}

void loop() {
  uint32_t now = millis();
  if ((uint32_t)(now - lastUpdate) < INTERVAL_MS) return;
  lastUpdate = now;
  brightness += direction;
  if (brightness >= 255) { brightness = 255; direction = -1; }
  if (brightness <= 0) { brightness = 0; direction = 1; }
  analogWrite(LED, brightness);
}